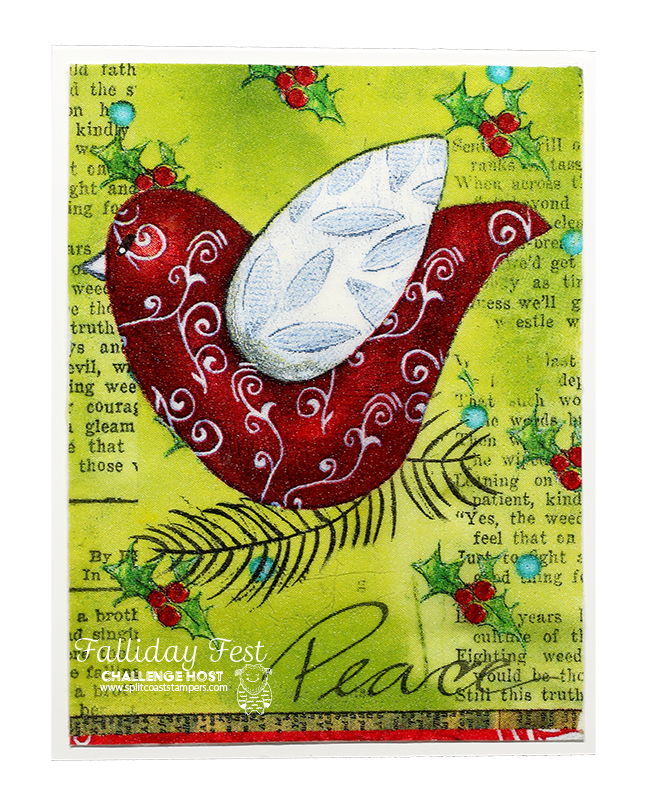
And with 30 challenges over a two week period I couldn't possibly blog them all in time, so I still have a few really fun ones to show you.
Remember my old Felted Cardstock tutorial? I did this technique at Maker Faire in 2008 - talk about a thrilling and nervewracking experience! I miss Maker Faire coming here a lot. It was really fun and it was an honor to be one of the makers.
Well Patty Bombyk used this technique for her challenge and I was so excited to see it again.
I decided to try something different this time just because I'm unpredictable like that. So instead of Saran Wrap and and iron, I just very carefully used gel medium to apply the napkin to the cardstock. I put a thin layer of it on the cardstock with an old credit card, and then I placed the napkin on top of it. (Be sure and separate all the layers of the napkin and use only the topmost printed layer - the exact napkins I used are linked below.)
Then I rolled over it with my acrylic brayer to make sure there were no bubbles or wrinkles and set it aside to dry.
After it was dry, I trimmed away the excess napkin and I thought it needed a little shimmer. You can see a few glints in the photo - I added Ranger Frosted Film to the whole surface. I LOVE this product, and Ranger doesn't make it anymore. Boo hoo. If anyone knows of a similar product, I'd love to hear about it. Here's a video of Tim Holtz showing it at CHA. It's cool because no glitter comes off it, and it's really just a subtle shimmery finish.
Isn't that a gorgeous napkin? Sorry - you can barely see the edges of my card, but this photo went to heaven with my hard drive so I can't edit it.
The technique works great with gel medium too - my advice would be - use it sparingly, use a credit card to get an even layer, and go slowly to avoid tearing the napkin or getting wrinkles. Never cut the napkin down before doing this technique with either method - just trim it down after it's adhered.
I always have napkins leftover after holiday parties - I need to remember to save them for cards. It would be a fun way to document your holiday parties in an art journal too, I think.
I'm headed up for my retreat today - getting ready for a super fun weekend with some very special ladies. There will be tons of photos on Facebook and Instagram - maybe not during the retreat - we don't have great cell coverage out there - but afterwards, and many of the participants are hanging out in Austin afterwards for a few days of shenanigans.
Loveyameanitbye.


What a treasure! Where do you get your napkins? Have a wonderful time!
ReplyDeleteHi Anne - there's a link to the napkins right under the project photo :)
Delete